Robot Testing
Obviously once our code is written and builds, we need to test it to make sure it works as expected. Testing can be done both on the physical robot as well as in simulation. Each has its own advantages and disadvantages.
Logging and Telemetry
When testing our robot code, it is important to have good logging and telemetry in place. This allows us to see what the robot is doing in real-time and helps with debugging issues that may arise during testing. Refer to the Telemetry and Logging page for more information on how to set up logging and telemetry for your robot.
If an issue arrives, record as much information as possible about the conditions leading up to the issue. This can help with debugging and fixing the issue later. Make a GitHub issue to track the problem and any steps step to reproduce it. Maybe even include video of the issue and log files if possible.
- Physical 🦾
- Simulation 💻
Testing on the Physical Robot
When testing on the physical robot, it is important to remember that the robot does not care about your feelings. It will do exactly what you tell it to do, regardless of whether that is safe or not. Always be cautious when testing on the physical robot and be prepared for unexpected behavior.
It is highly recommended to test your code in simulation before testing on the physical robot. This can help catch many issues before they become dangerous on the physical robot. It also frees up time on the physical robot for other people to use.
When you code is finally ready to be tested on the physical robot we can deploy it using the standard deployment process. WPILib: Deploy Robot Code
Once deployed we can use the driver station to enable the robot in either teleoperated or autonomous mode.
From there we can observe the robot's behavior and see if it matches our expectations.
Make sure to have a have a logging stick in the robot to capture logs during testing. Also consider using a dashboard application to monitor telemetry data in real-time. This can help identify issues and understand the robot's behavior during testing.
Visualizing the Robot Internal States
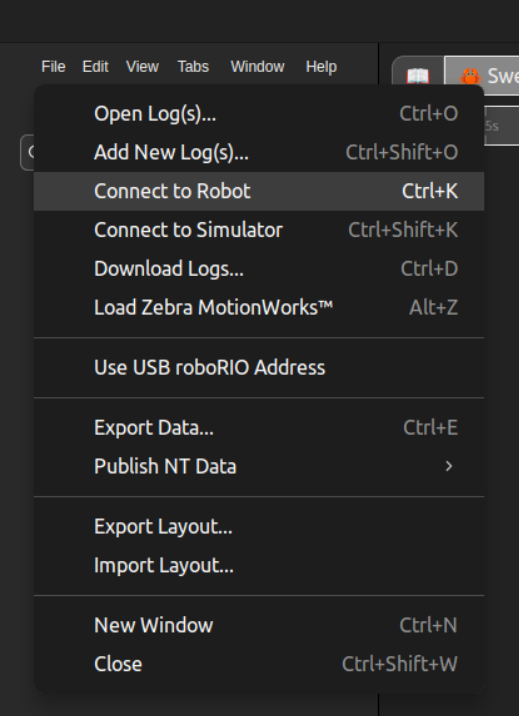
Of course we can see what the robot is doing physically, but sometimes it is useful to see internal states like mechanism positions, sensor readings, and other telemetry data. For this AdvantageScope is recommended. Launch AdvantageScope and connect it to the robot code selecting File > Connect to Robot.
Testing in Simulation
While simulation is a powerful tool for testing robot code, it is important to remember that it has its limitations. Not all physical behaviors can be accurately simulated, and some issues may only arise on the physical robot. Always validate your code on the physical robot before competition.
Testing in simulation is a great way to catch issues before they become dangerous on the physical robot. It also allows for faster iteration times since we do not have to wait for the physical robot to be available. Our simulation environment is built using WPILib's built-in simulation tools along with some custom code to better integrate with our robot codebase.
Launching the Simulation
To test in simulation, we can run the robot code in simulation mode using the WPILib tools.
WPILib: Simulate Robot Code will start the robot code in simulation mode. You will be prompted to select a tool Sim GUI or Use Real Driver Station. It is recommended to use Sim GUI for most testing, but the Use Real Driver Station option can be useful for testing with a physical driver station where you want to set some specific driver station settings.
Sim GUI
The Sim GUI is a built-in simulation tool that allows us to control some basic aspects of the robot simulation.
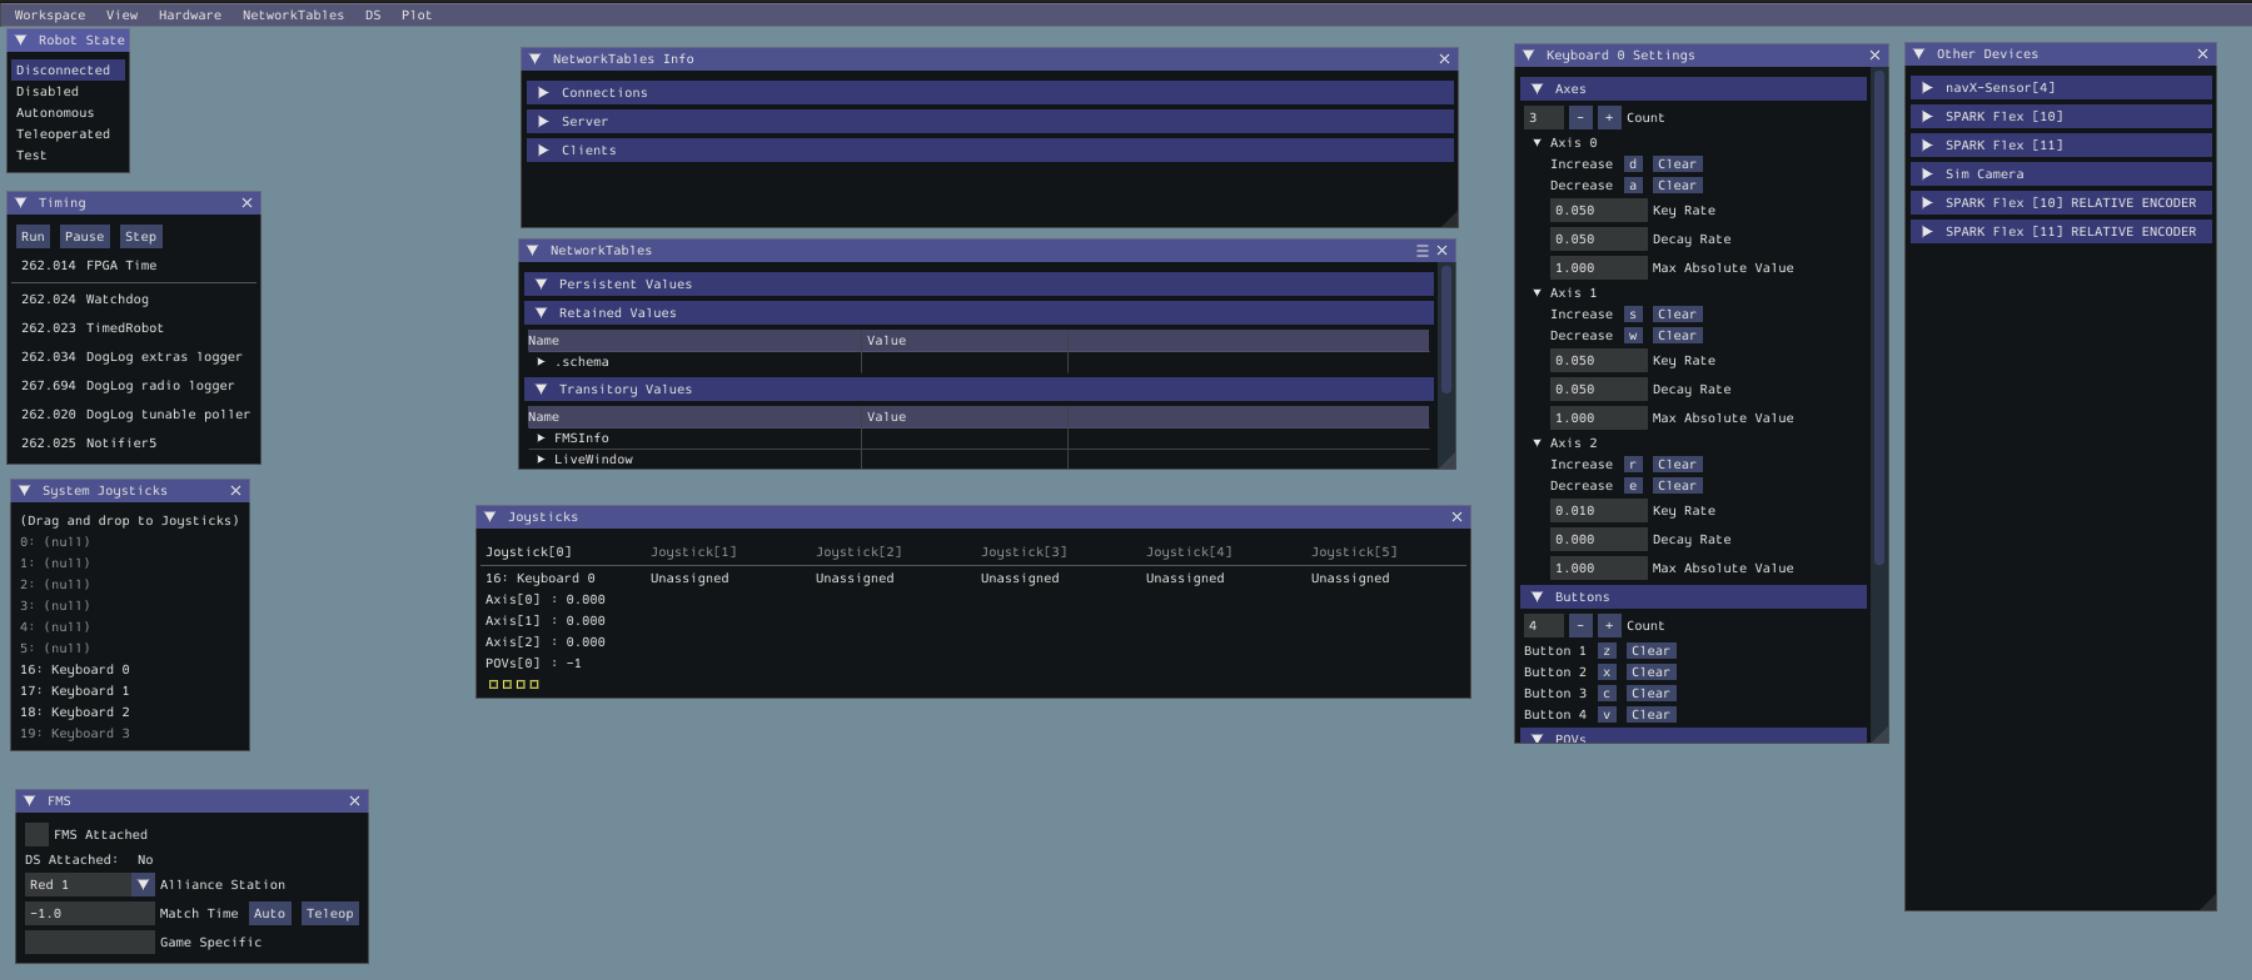
It provides a simple interface to enable/disable the robot, switch between autonomous and teleoperated modes, and control some basic inputs like joystick values.
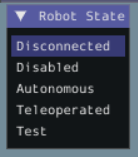
It is a useful tool for quickly testing basic robot functionality in simulation. Primarily look for the Robot State menu and select the desired mode.
Another setting is to click and drag a device from System Joysticks to Joysticks to simulate joystick input.

Visualizing the Simulation
While the Sim GUI is useful for basic testing, it does not provide a visual representation of the robot in a field or let us see internal states like mechanism positions. For this AdvantageScope is recommended. Launch AdvantageScope and connect it to the robot code selecting File > Connect to Simulator.
